Post by Naijinaxx on Aug 13, 2010 1:48:12 GMT -5
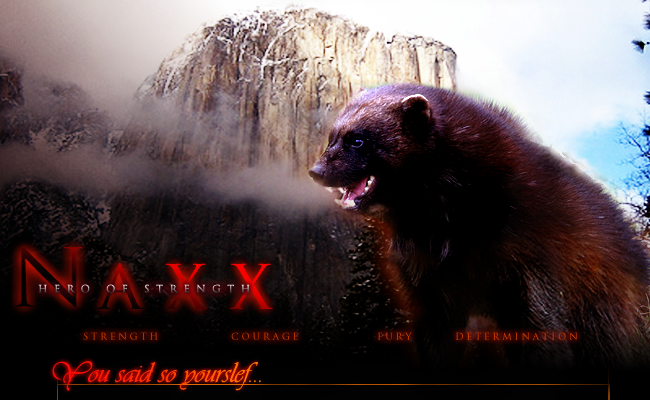
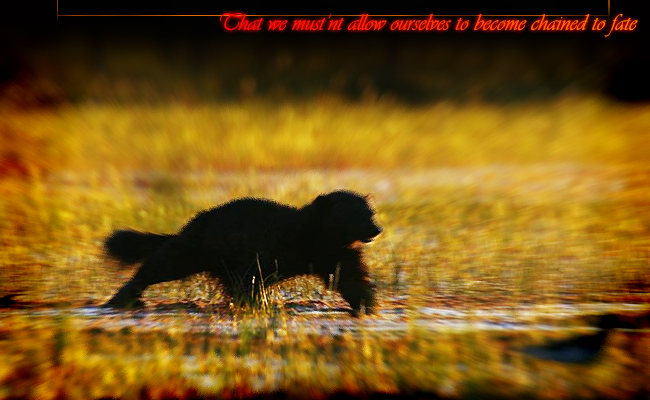
My welcome gift to you! We now have fancy smancy posting tables, below is the code, and an example of how your table will look when completed. Make the graphics, plug them in, show them off! NO MORE crazy long signatures!
I'm using Naxx's posting table as an example, use this code to make your own.
Post the tables you create here, click "Link to Post" and save that link as a favorite, use your table for everytime you post! Enjoy!
HOW TO
Making a posting table is fairly easy, and takes no more than an hour to do. Seeing that this board is actually quite large, I made my images 700 in width, but you can go a bit further, actually.
What you're going to be doing is making three consecutive images, well, that's if you want to use a background image. I personally like the background images, but if that's not your thing, just replace the [atrb=background] tag with [atrb=background color=HEX CODE HERE] and it'll turn your background to the color you want.
Remember that the purpose of a posting table is to blend so we're going to be using some gradiants to.
Black looks the best with me, but then again, I like making dark characters. It's up to you what kind of characters you like to roleplay, but I like black.
I use photoshop, so my terms are going to be photoshop terms. If you want, you can torrent photoshop by first downloading Utorrent, and once installed, go to The Pirate Bay and download what ever version you want. I have Photoshop Extended CS4.
So, for this site, you're going to make a new image, transparant, 700 pixels wide, 400 pixels high. (You can make them smaller, but I think it looks constrained.) Make your image, all the effects you want, text and crap.
You're first layers is going to be a transparent layer, your second is going to be black, and after th black layer, then you place your background layer.
Now, at the bottum of your image, (USE RULERS!) you're going to want to select a margin by using your marquee tool should you have one (select an are and make a very small rectangle) to each point, longitudinally to each ruler bar.
Make a new layer, fill in the color you wish, (use black, looks the best. Now, zoom in as much as possible, we're going to make a border, the best thing to do is to zoom in 100x, and make a marquee selection ONE pixel wide, and scroll up to the top of your black rectangle, fill it with your desired border color, repeat the same until you've boxed your black background in a nice border.
Save the image as a .PNG file, but do NOT close it. (it's also wise to save an uncollapsed version, so you can make little changes.)
Now that your done with your header image, we're going to be making your background. Your text will be going in here as you type. What we're going to do is delete or turn off every layer accept for three, the table top (the thing you put a border around) the black layer, and the transparent layer. Using the rulers to navigate, you're going to make another marquee, bring it all the way to the top, and fill it with the very same color you filled it in on the header image (I like black, easy to work with) wrap the border with the same as before, do whatever you want with it to make it pretty.
Save as .PNG
Should you desire to do so, you can make a footer too, close the table by making a small, yet long rectangle to close your box, stretching it to the end of your rular tools, color it, border it.
Place a gradiant overlay on your image, should you be able to do so, if you have photoshop, you follow this chain: Layers -> Layer Mask -> Reveal All; make sure your gradient is white-black; select your gradiant path, make your footer image. and your done.
Use the code below to insert your three images, and you've just made yourself a posting template.
Tinuke's Table
I'm using Naxx's posting table as an example, use this code to make your own.
Post the tables you create here, click "Link to Post" and save that link as a favorite, use your table for everytime you post! Enjoy!
HOW TO
Making a posting table is fairly easy, and takes no more than an hour to do. Seeing that this board is actually quite large, I made my images 700 in width, but you can go a bit further, actually.
What you're going to be doing is making three consecutive images, well, that's if you want to use a background image. I personally like the background images, but if that's not your thing, just replace the [atrb=background] tag with [atrb=background color=HEX CODE HERE] and it'll turn your background to the color you want.
Remember that the purpose of a posting table is to blend so we're going to be using some gradiants to.
Black looks the best with me, but then again, I like making dark characters. It's up to you what kind of characters you like to roleplay, but I like black.
I use photoshop, so my terms are going to be photoshop terms. If you want, you can torrent photoshop by first downloading Utorrent, and once installed, go to The Pirate Bay and download what ever version you want. I have Photoshop Extended CS4.
So, for this site, you're going to make a new image, transparant, 700 pixels wide, 400 pixels high. (You can make them smaller, but I think it looks constrained.) Make your image, all the effects you want, text and crap.
You're first layers is going to be a transparent layer, your second is going to be black, and after th black layer, then you place your background layer.
Now, at the bottum of your image, (USE RULERS!) you're going to want to select a margin by using your marquee tool should you have one (select an are and make a very small rectangle) to each point, longitudinally to each ruler bar.
Make a new layer, fill in the color you wish, (use black, looks the best. Now, zoom in as much as possible, we're going to make a border, the best thing to do is to zoom in 100x, and make a marquee selection ONE pixel wide, and scroll up to the top of your black rectangle, fill it with your desired border color, repeat the same until you've boxed your black background in a nice border.
Save the image as a .PNG file, but do NOT close it. (it's also wise to save an uncollapsed version, so you can make little changes.)
Now that your done with your header image, we're going to be making your background. Your text will be going in here as you type. What we're going to do is delete or turn off every layer accept for three, the table top (the thing you put a border around) the black layer, and the transparent layer. Using the rulers to navigate, you're going to make another marquee, bring it all the way to the top, and fill it with the very same color you filled it in on the header image (I like black, easy to work with) wrap the border with the same as before, do whatever you want with it to make it pretty.
Save as .PNG
Should you desire to do so, you can make a footer too, close the table by making a small, yet long rectangle to close your box, stretching it to the end of your rular tools, color it, border it.
Place a gradiant overlay on your image, should you be able to do so, if you have photoshop, you follow this chain: Layers -> Layer Mask -> Reveal All; make sure your gradient is white-black; select your gradiant path, make your footer image. and your done.
Use the code below to insert your three images, and you've just made yourself a posting template.
[atrb=border,0,true][atrb=cellSpacing,0,true][atrb=cellPadding,0,true][atrb=width,428,true]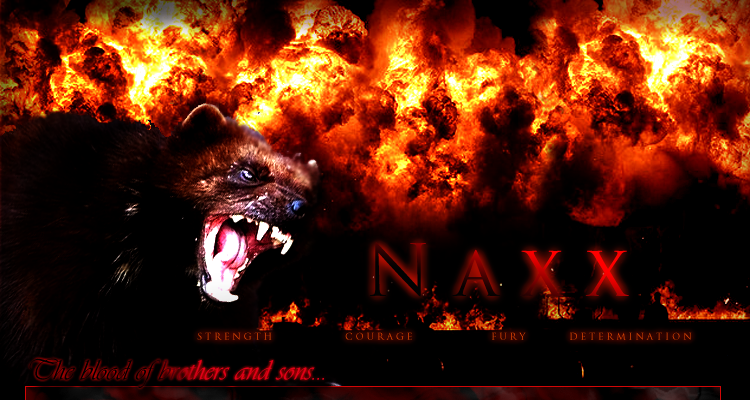 |
[atrb=background,http://i989.photobucket.com/albums/af16/dwplimg/NAXXPTBG.png]Naijaxx's physical sins |
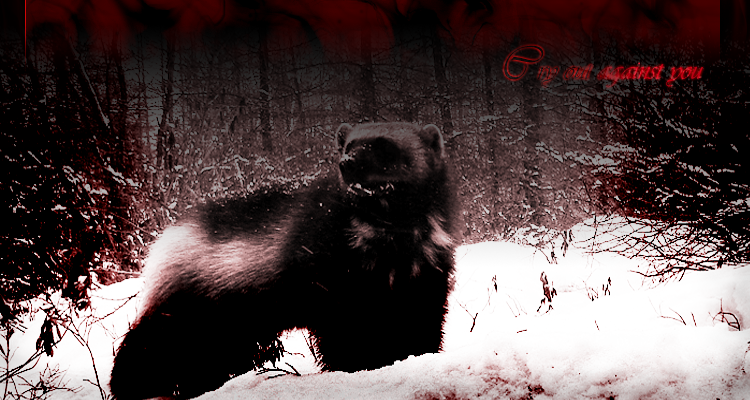 |
[center][table][tr][td][atrb=border,0,true][atrb=cellSpacing,0,true][atrb=cellPadding,0,true][atrb=width,428,true][img]http://i989.photobucket.com/albums/af16/dwplimg/NAXXHDR.png[/img][/td][/tr][tr][td][atrb=background,http://i989.photobucket.com/albums/af16/dwplimg/NAXXPTBG.png][blockquote][blockquote][color=fe0804][font=georgia][size=4]N[/size][size=0]aijaxx's physical sins

[b]Naxx's words of injustice[/b]

[i]"Naxx's contemplations"[/i]
[/size][/font][/color]
[/blockquote][/blockquote]
[/td][/tr][tr][td][img]http://i989.photobucket.com/albums/af16/dwplimg/NAXXPTBFTR.png[/img][/td][/tr][/table][/center]
Tinuke's Table
[atrb=border,0,true][atrb=cellSpacing,0,true][atrb=cellPadding,0,true][atrb=width,428,true]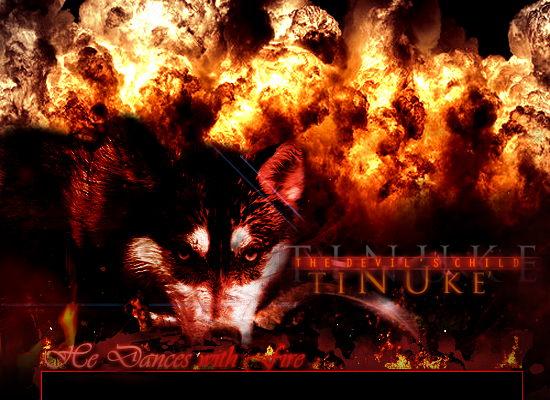 |
[atrb=background,http://i989.photobucket.com/albums/af16/dwplimg/TINUKESPECIALEDITION2010TBGTA.png]Tinuke' did this, and then he did that... |
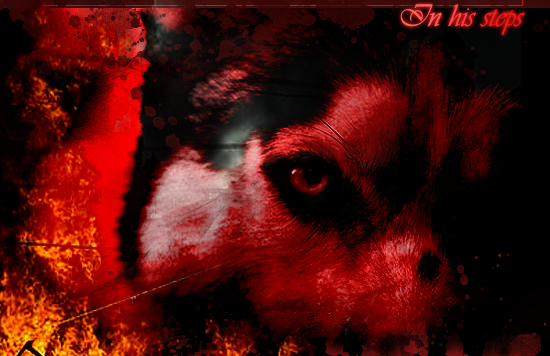 |
[center][table][tr][td][atrb=border,0,true][atrb=cellSpacing,0,true][atrb=cellPadding,0,true][atrb=width,428,true][img]http://i989.photobucket.com/albums/af16/dwplimg/TINUKESPECIALEDITION2010HDR.png[/img][/td][/tr][tr][td][atrb=background,http://i989.photobucket.com/albums/af16/dwplimg/TINUKESPECIALEDITION2010TBGTA.png][blockquote][blockquote][color=940e0c][font=georgia][size=4]T[/size][size=0]inuke' did this, and then he did that...

[b]Tinuke' said this, and pissed everyone off[/b]

[i]Tinuke's thoughts[/i]
[/size][/font][/color]
[/blockquote][/blockquote]
[/td][/tr][tr][td][img]http://i989.photobucket.com/albums/af16/dwplimg/TINUKESPECIALEDITION2010FTR.png[/img][/td][/tr][/table][/center]

